Installing a DIGI gear indicator
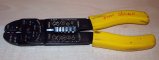
| Tools Needed: | 1. Wire Crimper |
| 2. Soldering Iron | |
| 3. Small Pick | |
| 4. Electrical Tape | |
| 5. Rear stand/ center stand | |
Other Items: |
1. DIGI and parts from box |
| 2. A matching male and female plug | |
| 3. Solder | |
| 4. Electrical Tape | |
| 5. Small Black Zip Ties | |
 |
|
Estimates: |
Time: 1 - 3 hours Cost: ~$85 - $105 USD for the Digi ~$5 - $20 USD for misc. |
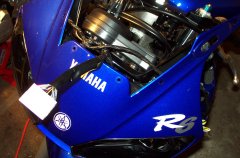
(I'll be using a 2000 R6 as an example, but it should apply to any motorcycle.) |
|
Also think about where you want to mount it.
NOTE: The connector I used on the R6 was the main harness to headlight connector. The link below shows how to do it from the back of the gauges.
WaveRave's Digi Install
This may require removal of body panels, but I did not have to.
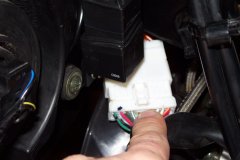
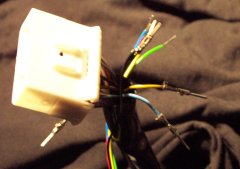
Many connectors such as the one to the right have snap guards to help prevent the wires coming loose from vibration, if the wire clip itself comes loose.
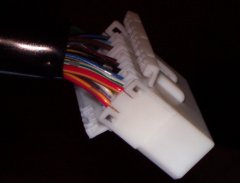
Each wire is attached to a pic connector. These have little clip like tabs that stick into a section of the larger main harness body. Simply look down into the harness, you should see the clips.
Use your pick to gently push the pin down and pull the wire out (at the same time).
Protect the area! Just solder the Digi connectors to the appropriate wires you removed from the harness connector.
BE SURE to NOT impede on the little pins, otherwise when the harness is re-connected, they could push out if they are damaged.
Use the male connector on the orange wire, and use the other female side as a cover for it.
Use the zip ties and electrical tape. Don't forget the tape the orange Digi wire separate!
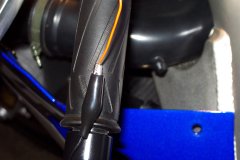
Mount to your liking using velcro, double sided tape, zip-ties, whatever.

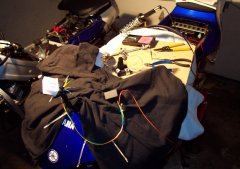
Follow the instructions for programming, here is where you'll need the rear or center stand.
To make it easier, I used the battery ground and ran some wires with alligator clips to the orange Digi program wire.
Don't forget to isolate (cover) that orange programing wire and tuck it away when you're done.
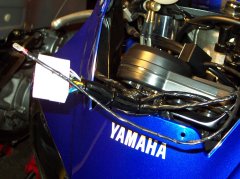
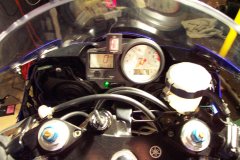
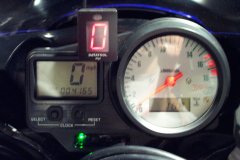
The top picture is the view I have while riding and a close up under it.
Helpfull Hints
If you're having problems programming, re-read the directions, turn the bike off, and start the programing over.
Here's the wiring layout for the connector I used on the R6 that goes from the main bike harness to the headlight harness, headlight harness side:
